My cute little neighbor kids always get a little holiday treat from me and so when I saw these nugget boxes (found HERE) I knew thats what they were getting. I did alter my box some so you can see my wrapped nuggets. I cut the wrap of the nugget box in acetate.
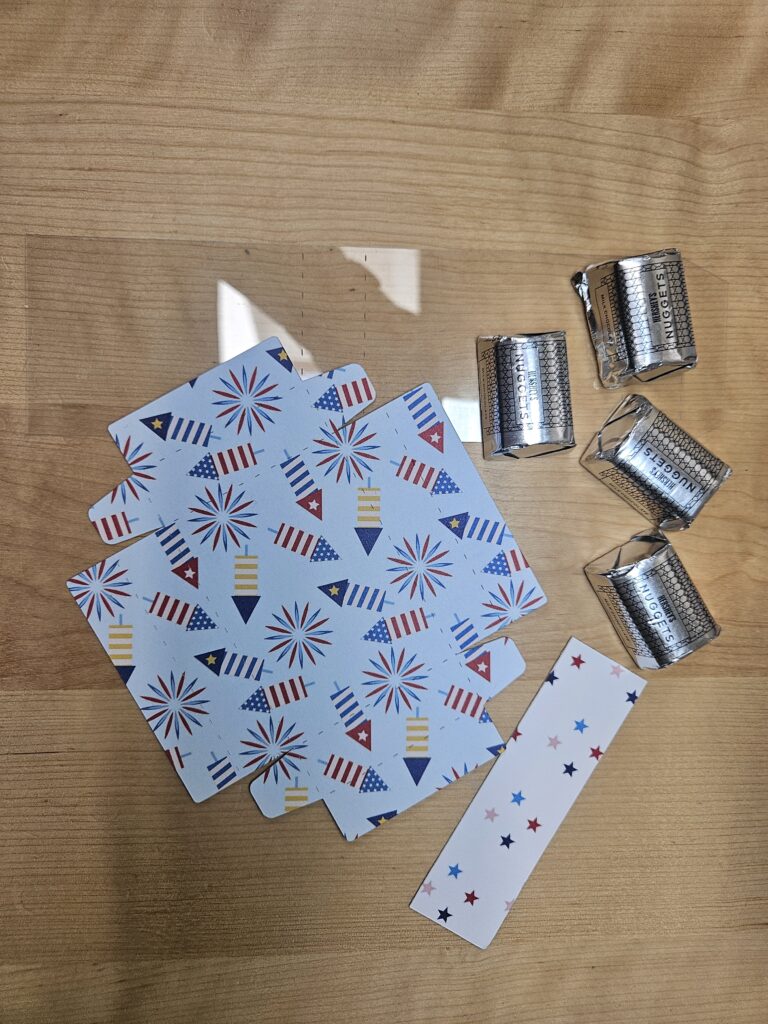
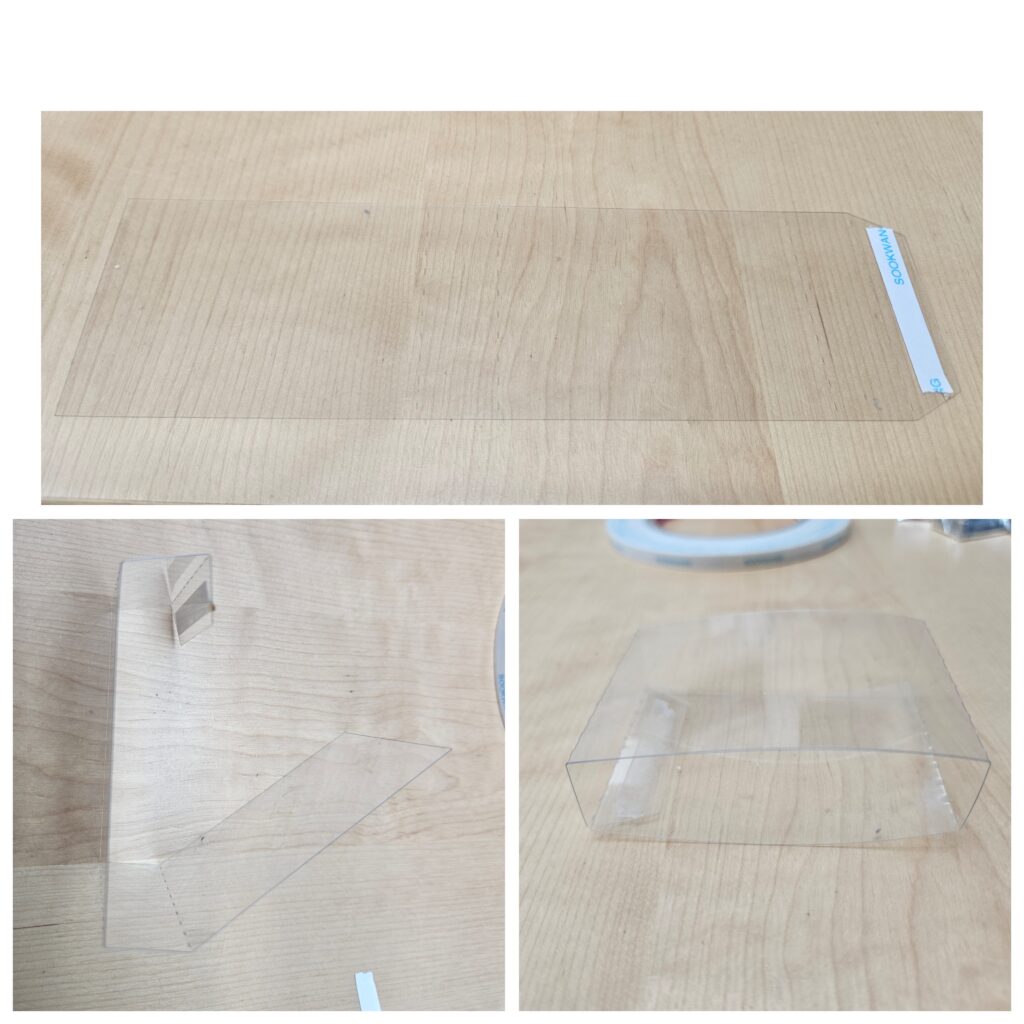
First cut your pieces and get your nuggets.
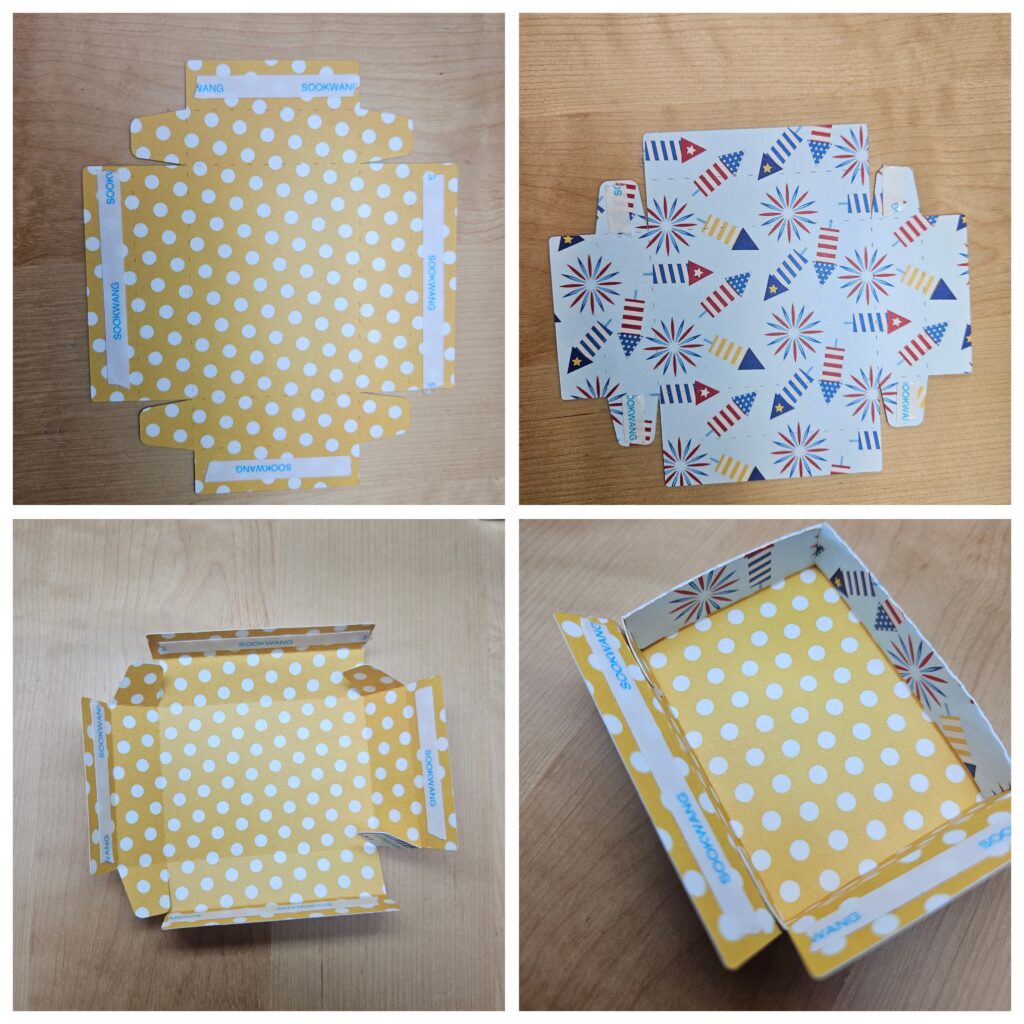
When assembling the box make sure you adhere the tabs inside before folding the edges over or else your tabs will show. Below will show you where to add your adhesive. I like Scor-tape for a secure hold.
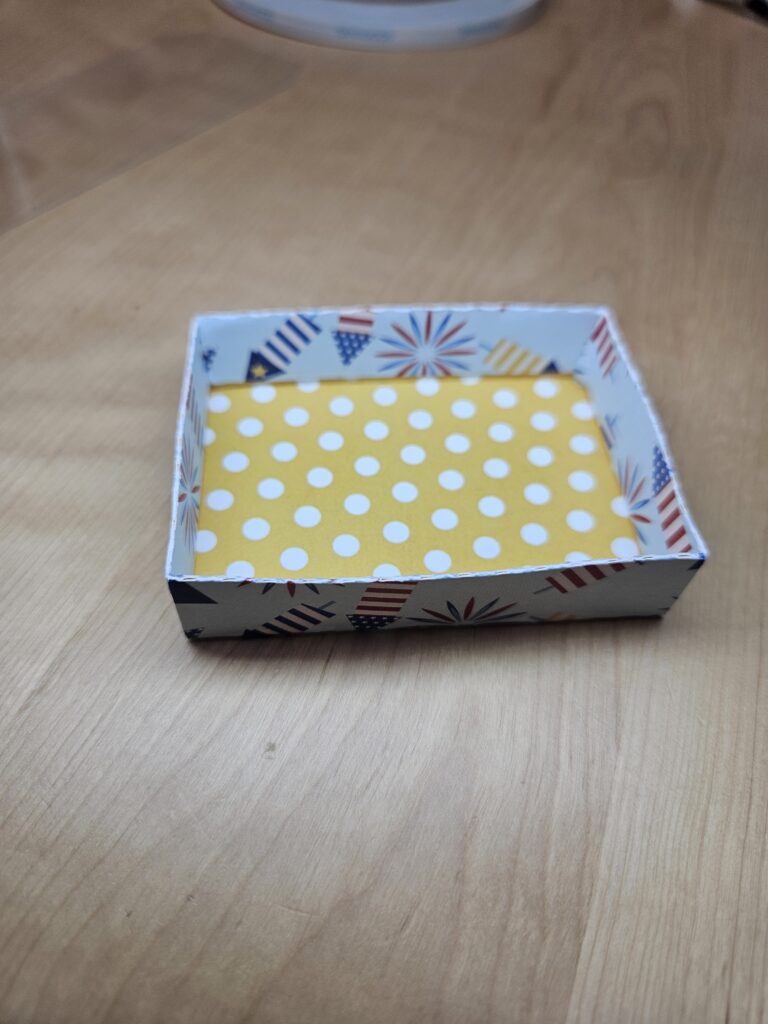
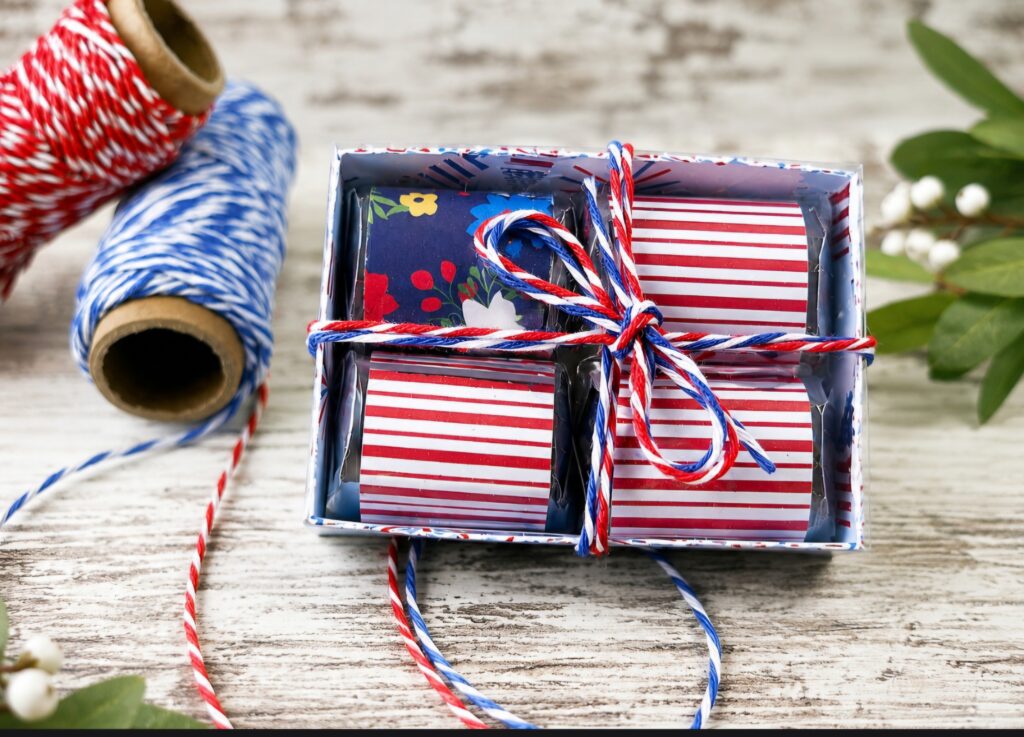
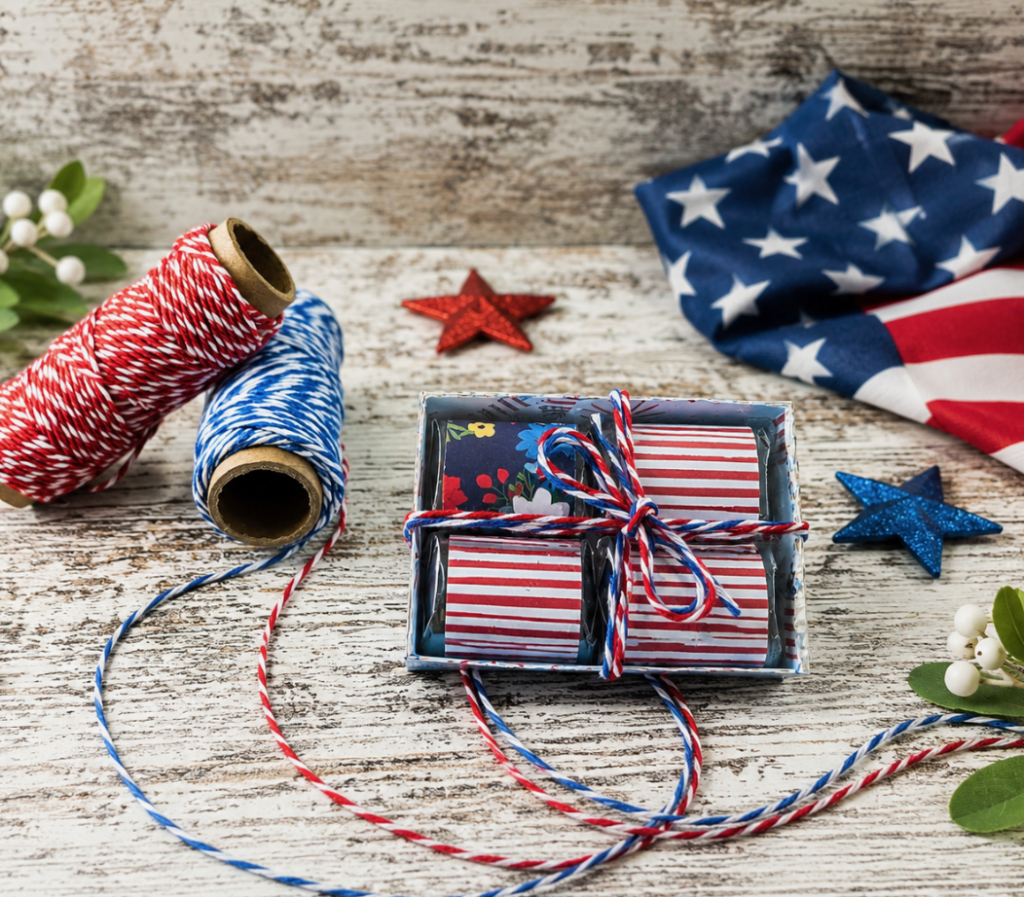
Below is what your completed nuggest box will look like.
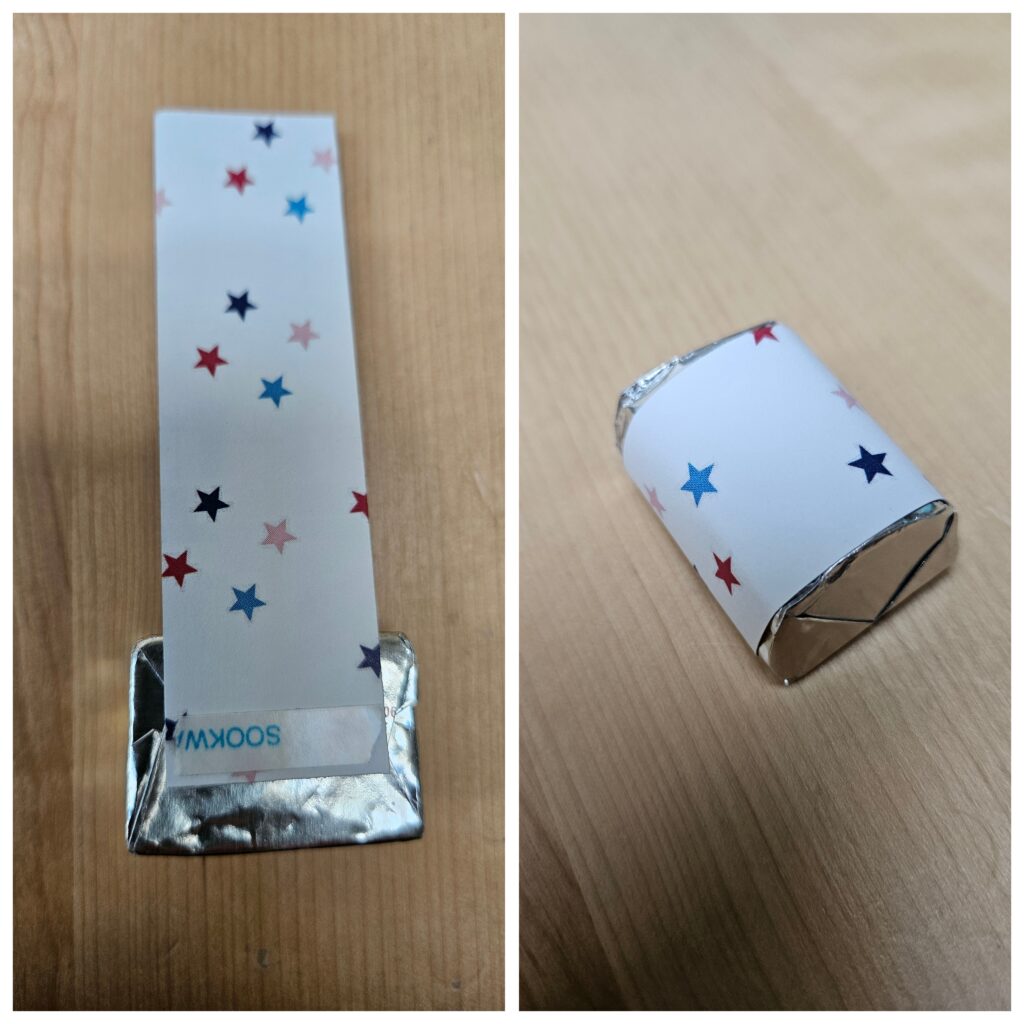
The wrap for the nuggets isn't on the file but those just need to be cut 1 inch x 3 inches. Add tape to both sides on the same end of the paper and attach it to the nuggest.
The acetate in the following photos is hard to see but essentially just cut the slide part of the file and fold on the score lines. Adhere with strong adhesive to complete the box.
I added some twine around the box for a little extra love.
I wrapped my nuggests to resemble a flap using Lori Whitlock's Echo Park Holly Jolly Christmas. The rest of my paper is by Fancy Pants called HomeTown Summer.
Thanks for stopping by and happy crafting.


.jpg)


.jpg)
